A photo can help you notice broad proportions, but it cannot deliver a final answer about your body shape. Camera height, lens choice, pose, and clothing can all change the apparent width of shoulders, waist, and hips. Used carefully, a body shape photo test is a useful visual reference alongside measurements and real-life garment fit; used carelessly, it can make ordinary perspective look like a permanent feature.
Why one photograph can give the wrong impression
Phone cameras are designed for convenience, not neutral proportion analysis. A wide-angle lens makes whatever is closest to it appear larger. When the camera is held low, legs and hips may look longer or broader; when it is held high, shoulders and head can dominate the frame. Standing close to the camera exaggerates these effects, especially in a mirror selfie where both the mirror and the phone influence the angle.
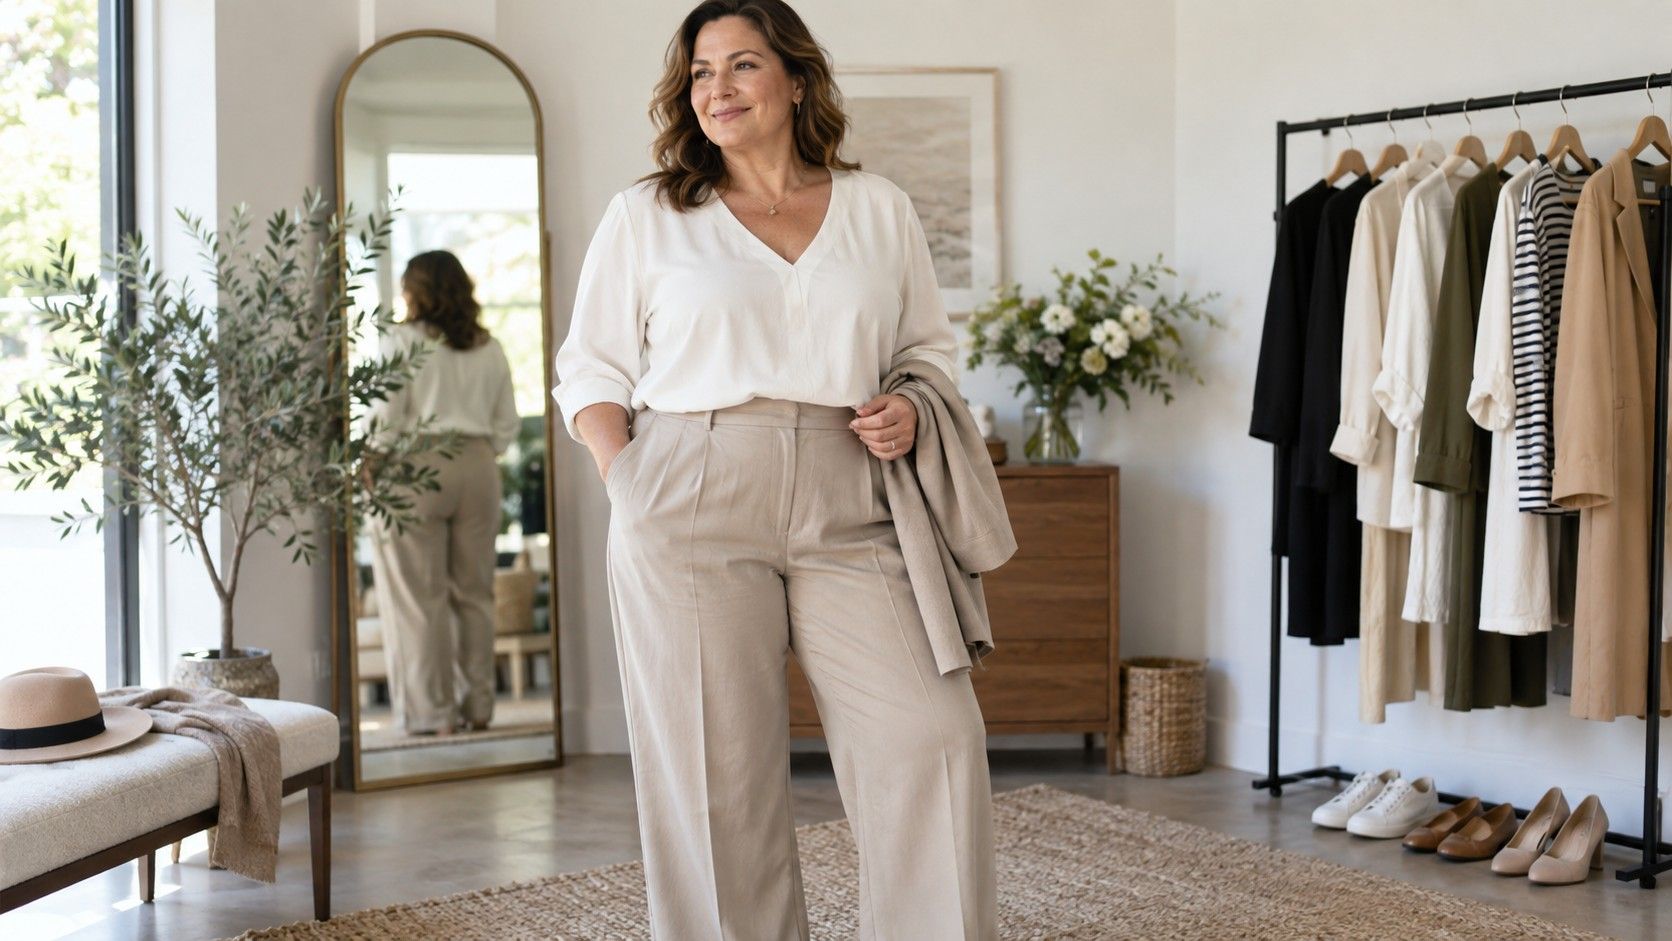
Clothing adds another layer. A dropped-shoulder sweatshirt broadens the upper body, a high-contrast waistband can create a sharper waist, and wide trousers change the apparent hip line. None of this is a flaw. It simply means that a single outfit is evidence about that outfit's silhouette, not a measurement of your body underneath it.
Posture matters too. One shoulder may sit slightly higher, a relaxed hip may shift to one side, and an arm held away from the torso can make the waist look smaller. Those are normal moments of movement. Before drawing conclusions, look for patterns across two or three comparable photos rather than treating one frame as a verdict.
Take a reference photo with less distortion
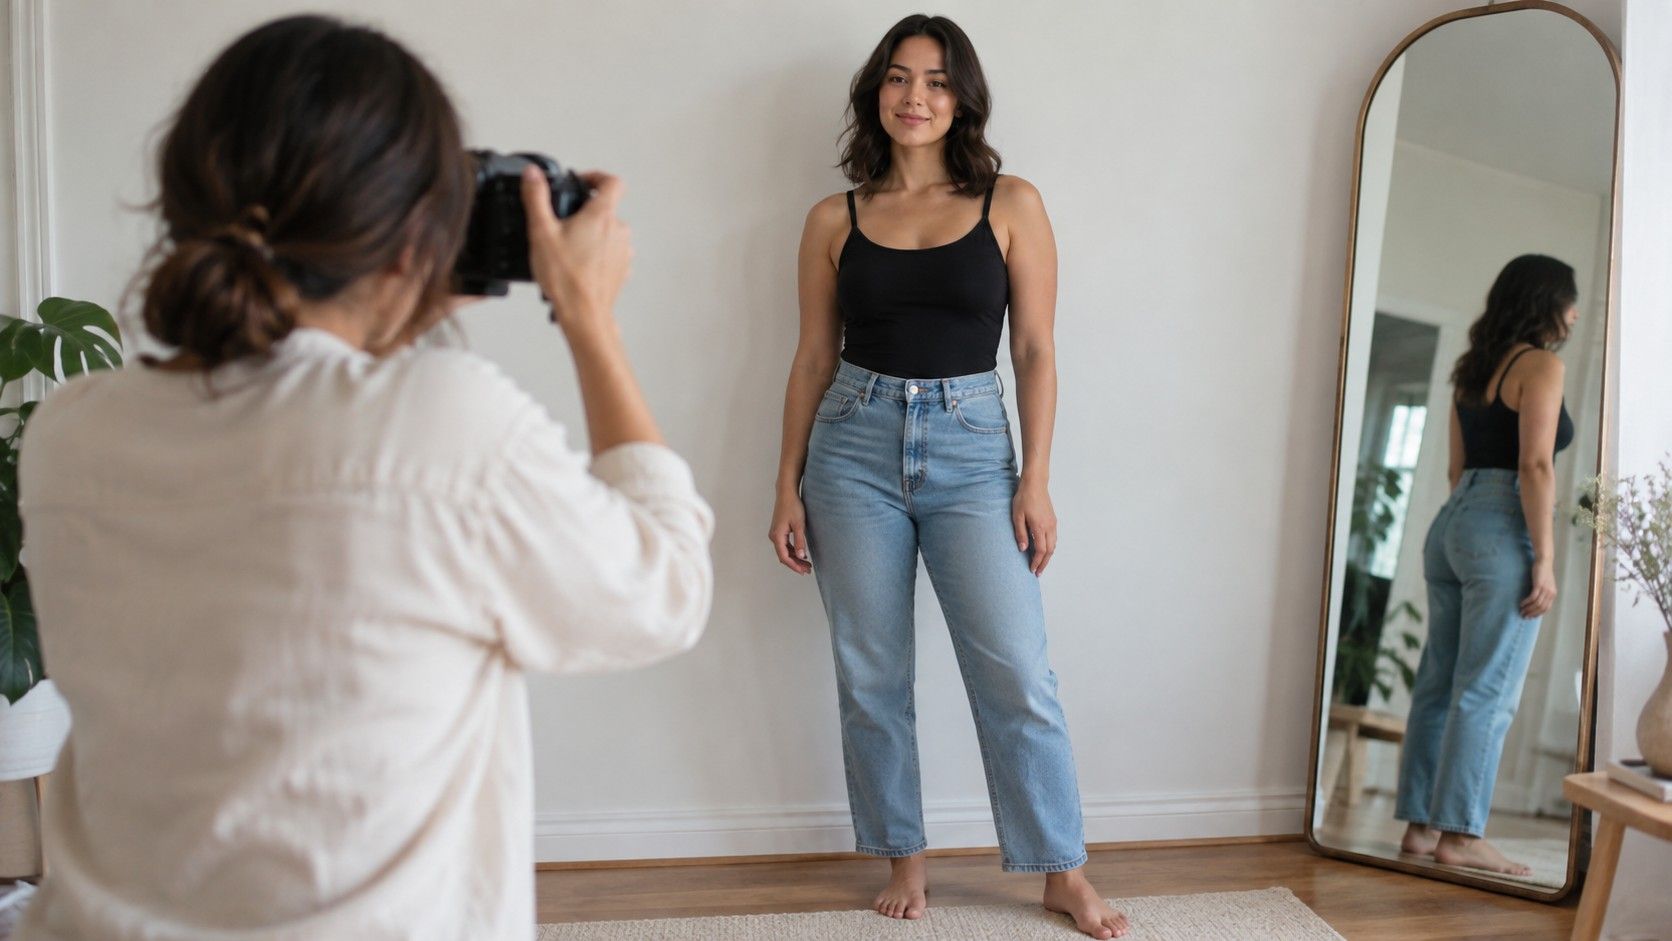
If you want to identify body shape from a photo, place the camera at about mid-torso height, several steps away from you. A tripod, shelf, or a friend holding the phone at a steady height works better than an outstretched arm. Use the standard camera rather than a very wide setting if your device offers a choice. Step back and crop later instead of standing close to the lens.
Choose plain, even lighting that lets you see the shoulder line and hip line without strong side shadows. A wall or uncluttered door behind you makes the outline easier to read than a busy bedroom or a mirror crowded with objects. Wear close-fitting clothing in a colour that contrasts gently with the background; it should be comfortable enough that you can stand naturally.
Take a front view and, if useful, a side view. Keep both feet planted, leave a little space between your arms and torso, and look ahead rather than down at the screen. Avoid twisting at the waist or pushing one hip out for the camera. A relaxed, repeatable stance is more valuable than a flattering pose because you can compare it later with the same conditions.
| Photo choice | What it can distort | Better reference |
|---|---|---|
| Camera held low | Leg and hip proportions | Camera near mid-torso height |
| Very close selfie | Nearest body area and shoulder line | Step back, then crop the image |
| One hip pushed out | Waist and hip symmetry | Weight shared across both feet |
| Bulky or oversized outfit | Shoulder and hip outline | Comfortable fitted clothing |
Compare the lines that matter first
Start with the shoulder line. Notice its visual width in relation to the hip line, not as a judgement of whether either is large or small. Then look at the waist: does the outline move inward clearly, gently, or very little between ribs and hips? Finally, notice where the hip line is fullest and whether the overall outline is mostly straight, softly curved, or mixed. These are descriptive observations, not a requirement to choose a label.
Use the photo as a body proportions photo, not a silhouette contest. A long torso can make the waist look lower than expected. A fuller bust may alter the front outline without changing the shoulder-to-hip relationship. A person can look balanced from the front while a side view reveals that trouser rise or bust shaping is the main fitting issue. This is why a visual guide works best when it leads to questions about clothes rather than conclusions about a body.
If you compare photos, keep the setup similar: same camera distance, height, stance, and fitted layer. Comparing a sunny outdoor holiday photo with a close mirror selfie is unlikely to reveal a true change in proportions. It mostly reveals two different lenses, two poses, and two garments.
Use a mirror and clothes as a reality check
A mirror gives immediate feedback that a photo may miss. Put on a well-fitting T-shirt and straight-leg trousers, then stand relaxed. Watch where the shoulder seams sit, whether the side seams stay vertical, and where a waistband naturally rests. Turn sideways to see whether a top pulls at the bust or rides up at the hip. These details relate directly to the cuts that will feel comfortable.
Try a second garment with a different structure: perhaps a softly draped shirt after a crisp button-down, or a high-rise trouser after a mid-rise pair. If both garments pull in the same place, that is a useful fit pattern. If the effect disappears in another fabric, the first garment may simply be cut poorly for its own design. A photo alone cannot tell that difference.
Mirrors can still be misleading when viewed from a very close angle, so take a step back. The goal is not to inspect every detail. It is to notice the overall relationship between the shoulder line, waist, and hip line while your body is in a position you actually use.
Know when measurements answer the question better
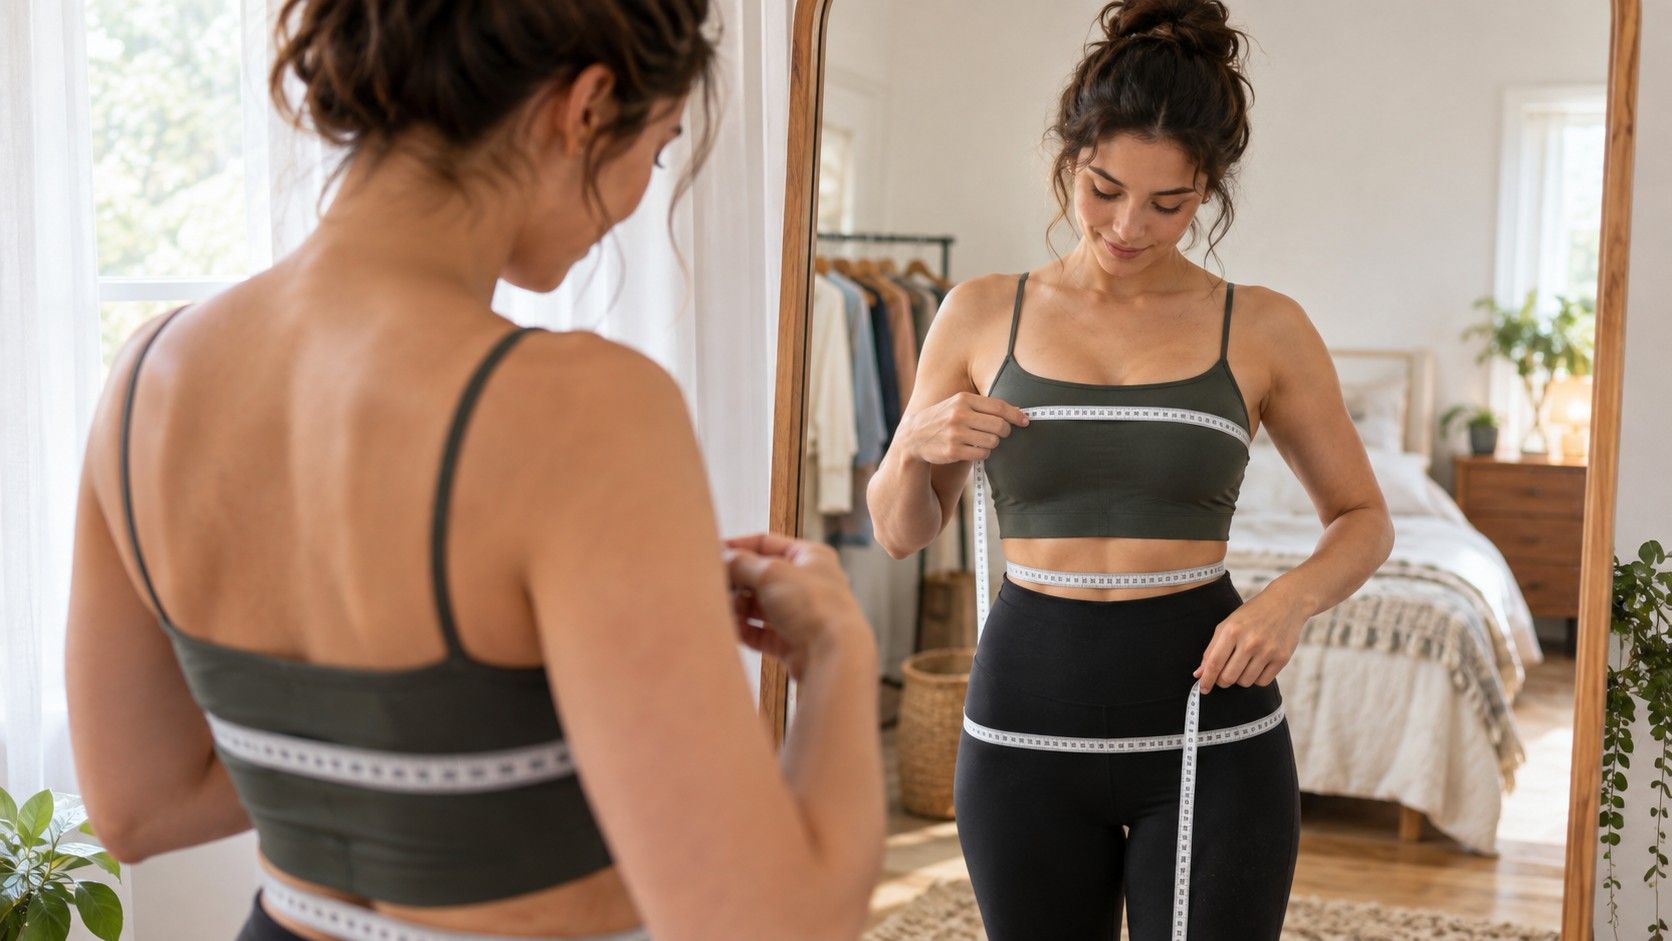
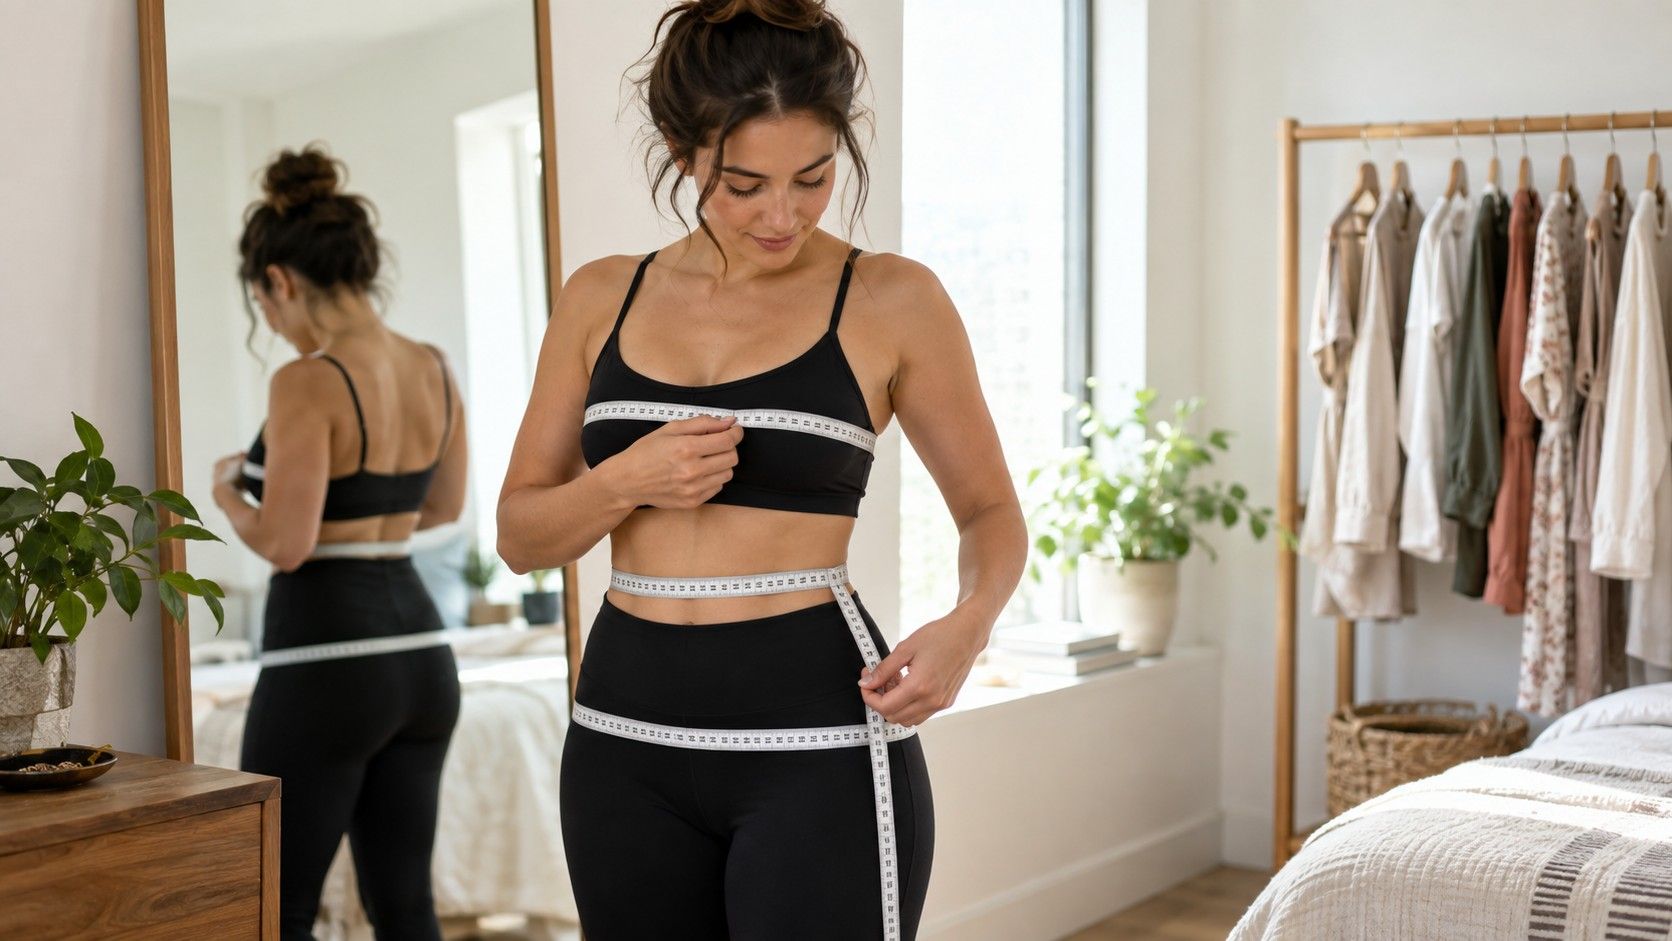
Measurements are more useful when you are ordering online, choosing a sewing pattern, or comparing brands. A soft tape can show whether a waistband needs to accommodate the waist or the fuller hip, while a photo cannot tell you the amount of ease a garment needs. Measure the bust, natural waist, and fullest hip line in relaxed posture, and take each reading twice. Add shoulder fit notes if jackets are often difficult.
Photos and numbers can disagree without either being wrong. Perspective may make the shoulders look broad while a shoulder seam still fits easily. A defined waist in a picture may not line up with the waist seam of a particular dress. Use the information together: the photo shows visual balance, the tape supports size choices, and the garment tells you what happens when you move.
There is no need to repeat a body shape visual guide every time your appearance changes slightly. Revisit photos or measurements when your wardrobe needs change, not to monitor yourself. The most helpful result is a short, flexible note about what fits: room through the shoulders, a waistband that sits at the natural waist, or trousers that skim the hip without pulling. That is plenty to make the next clothing choice easier.