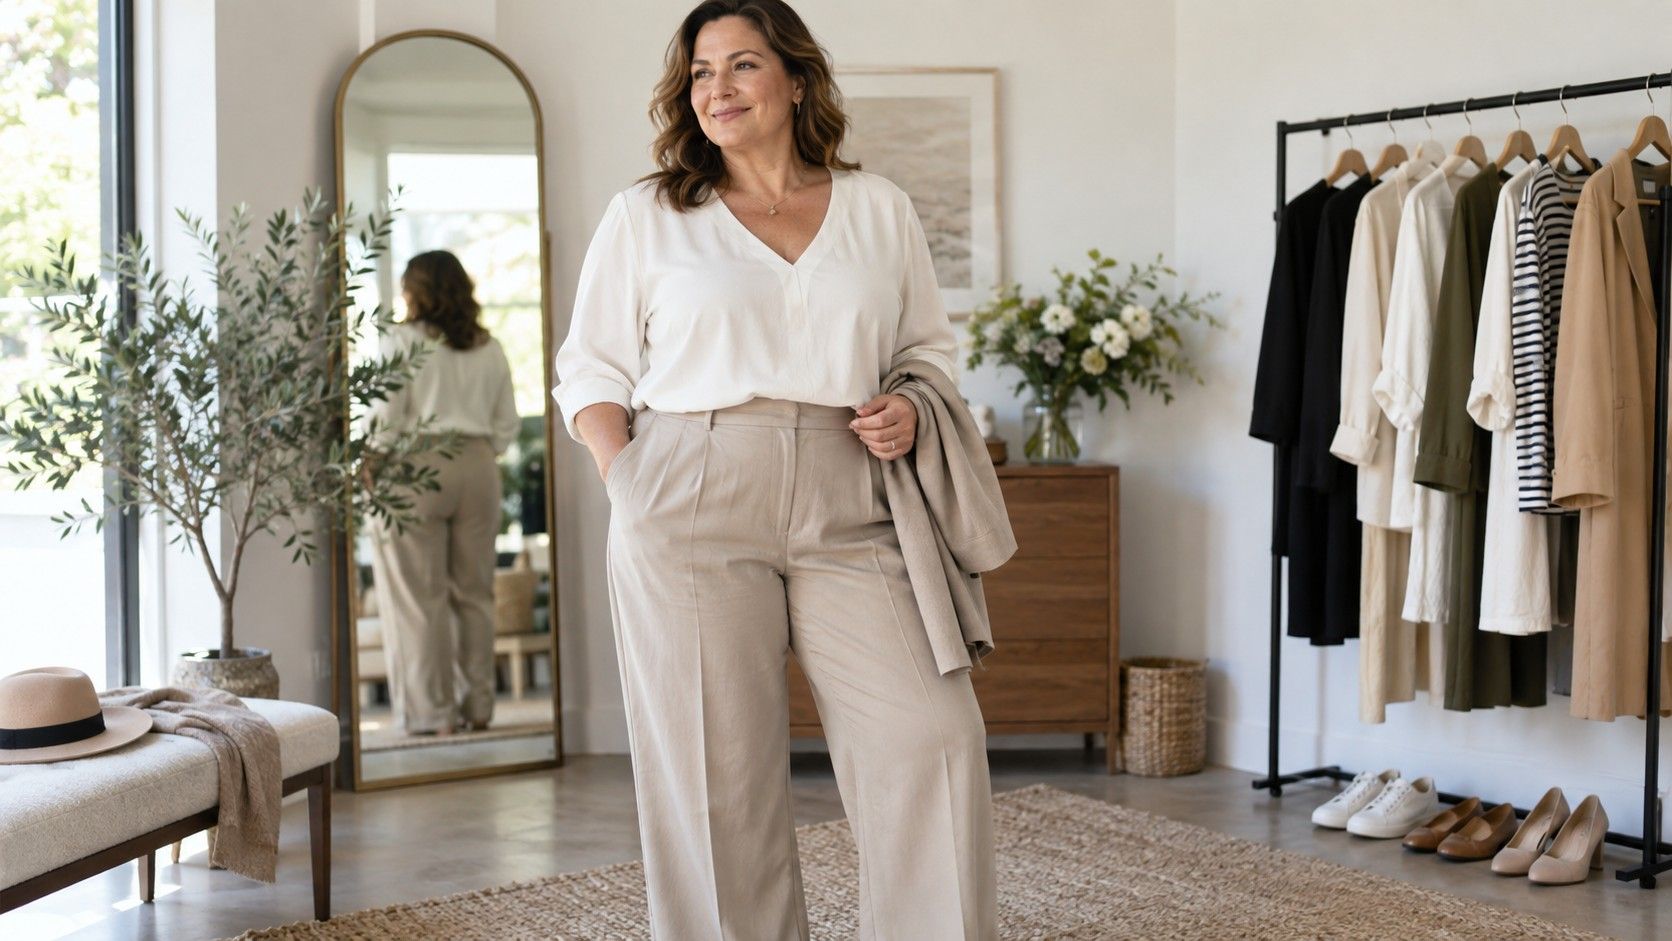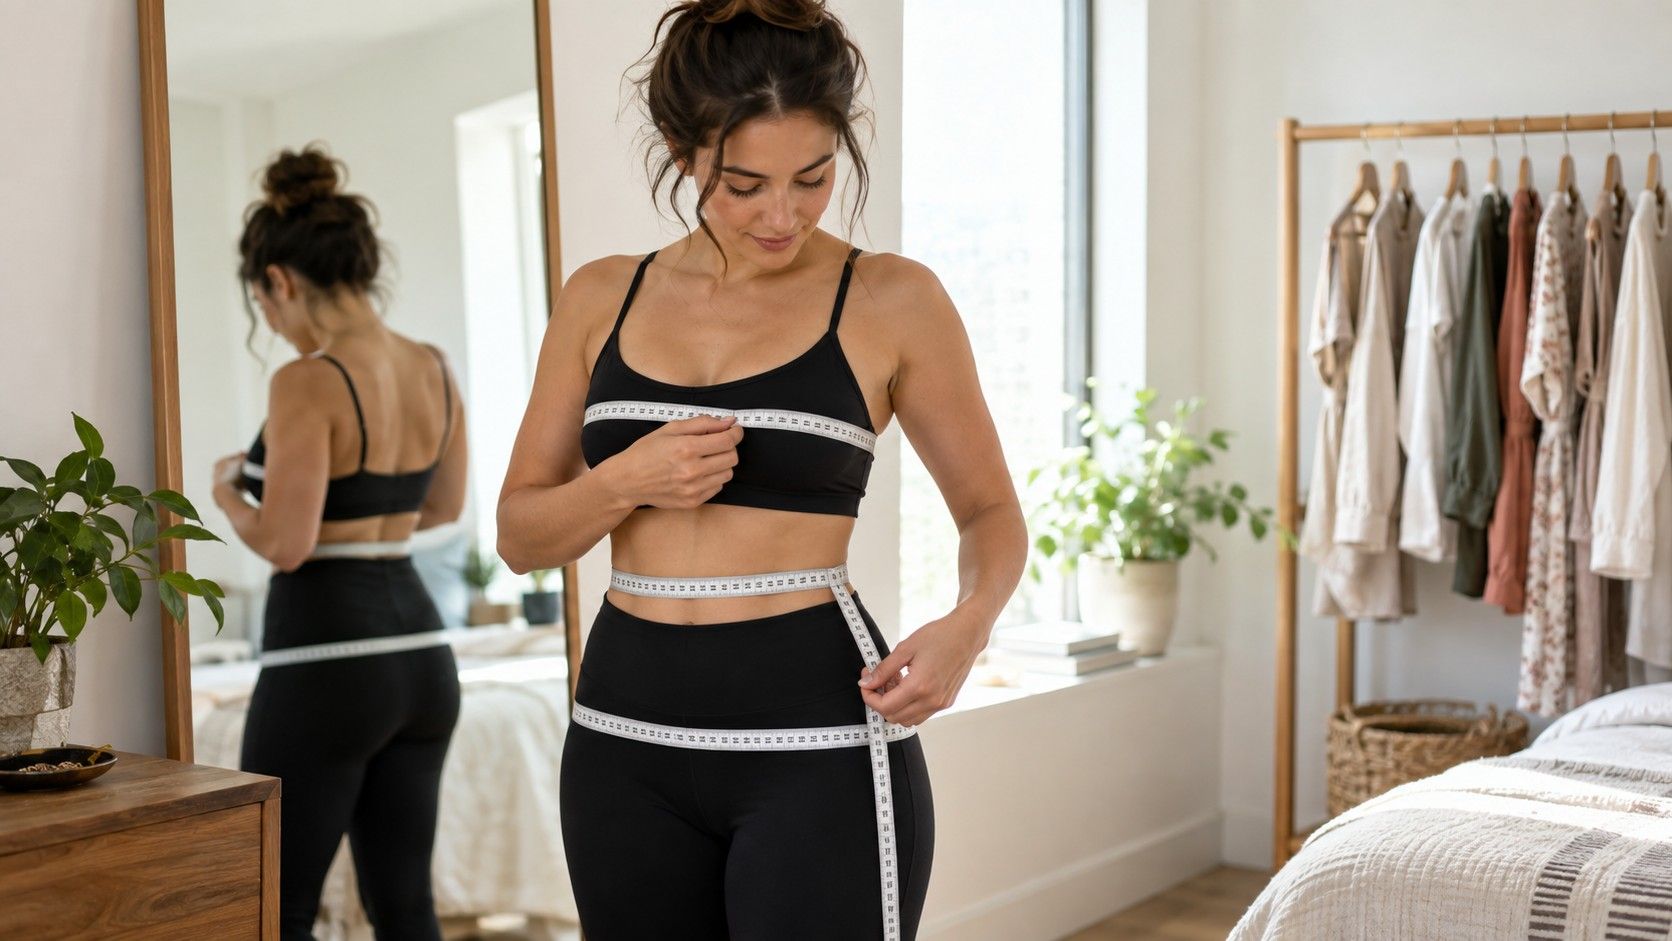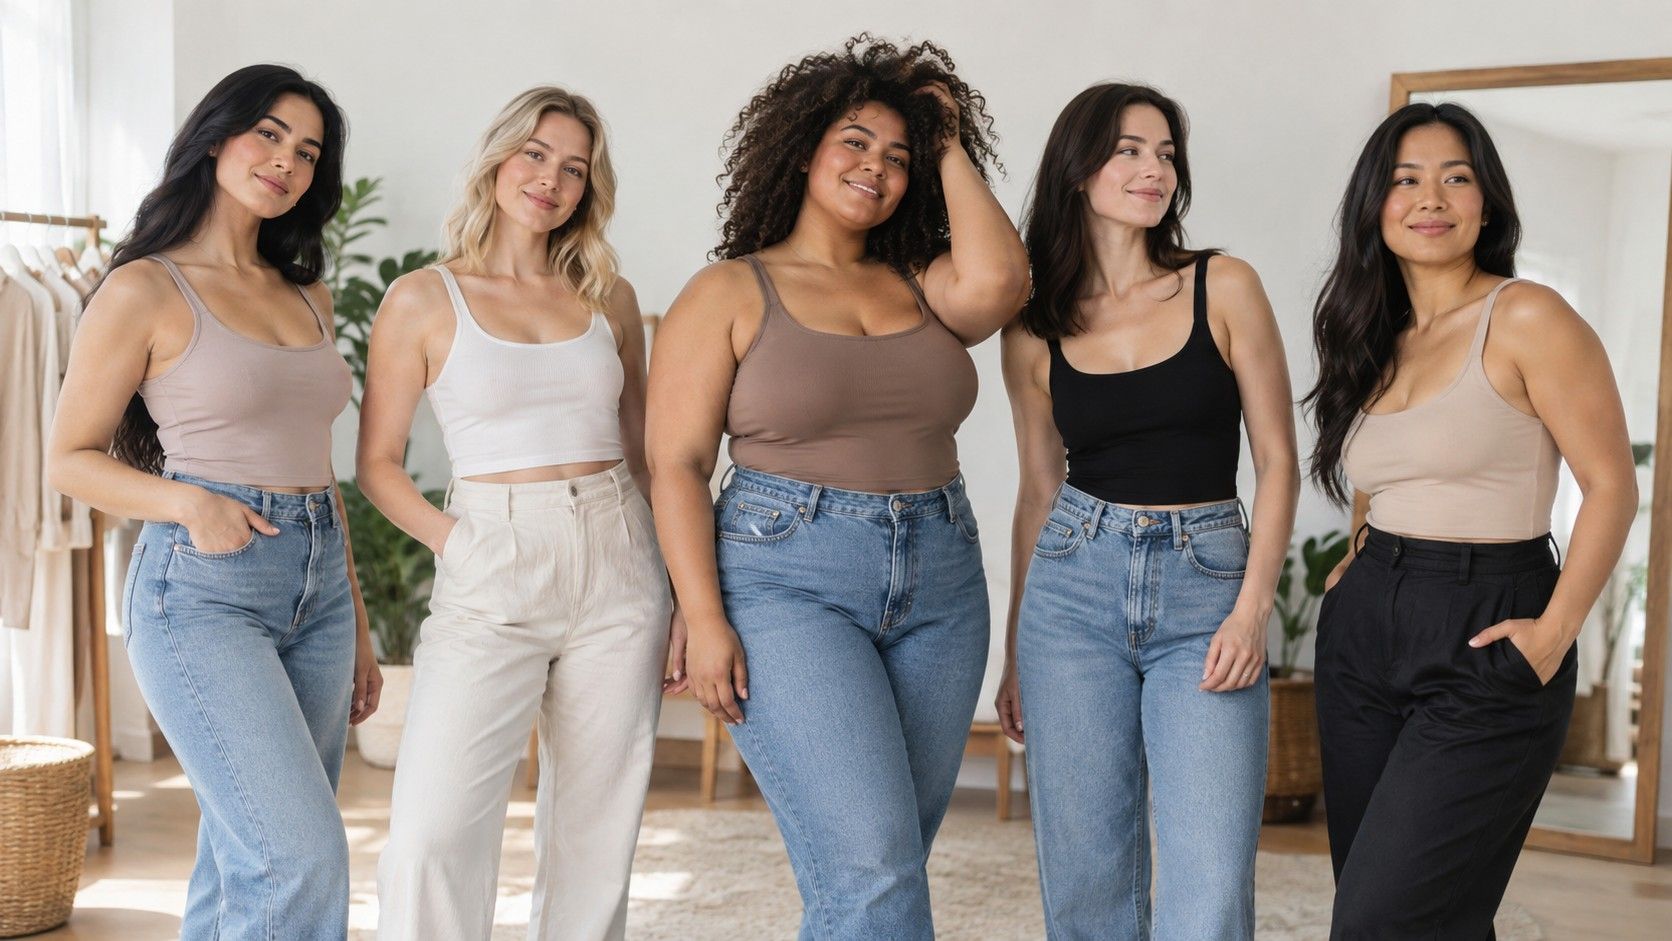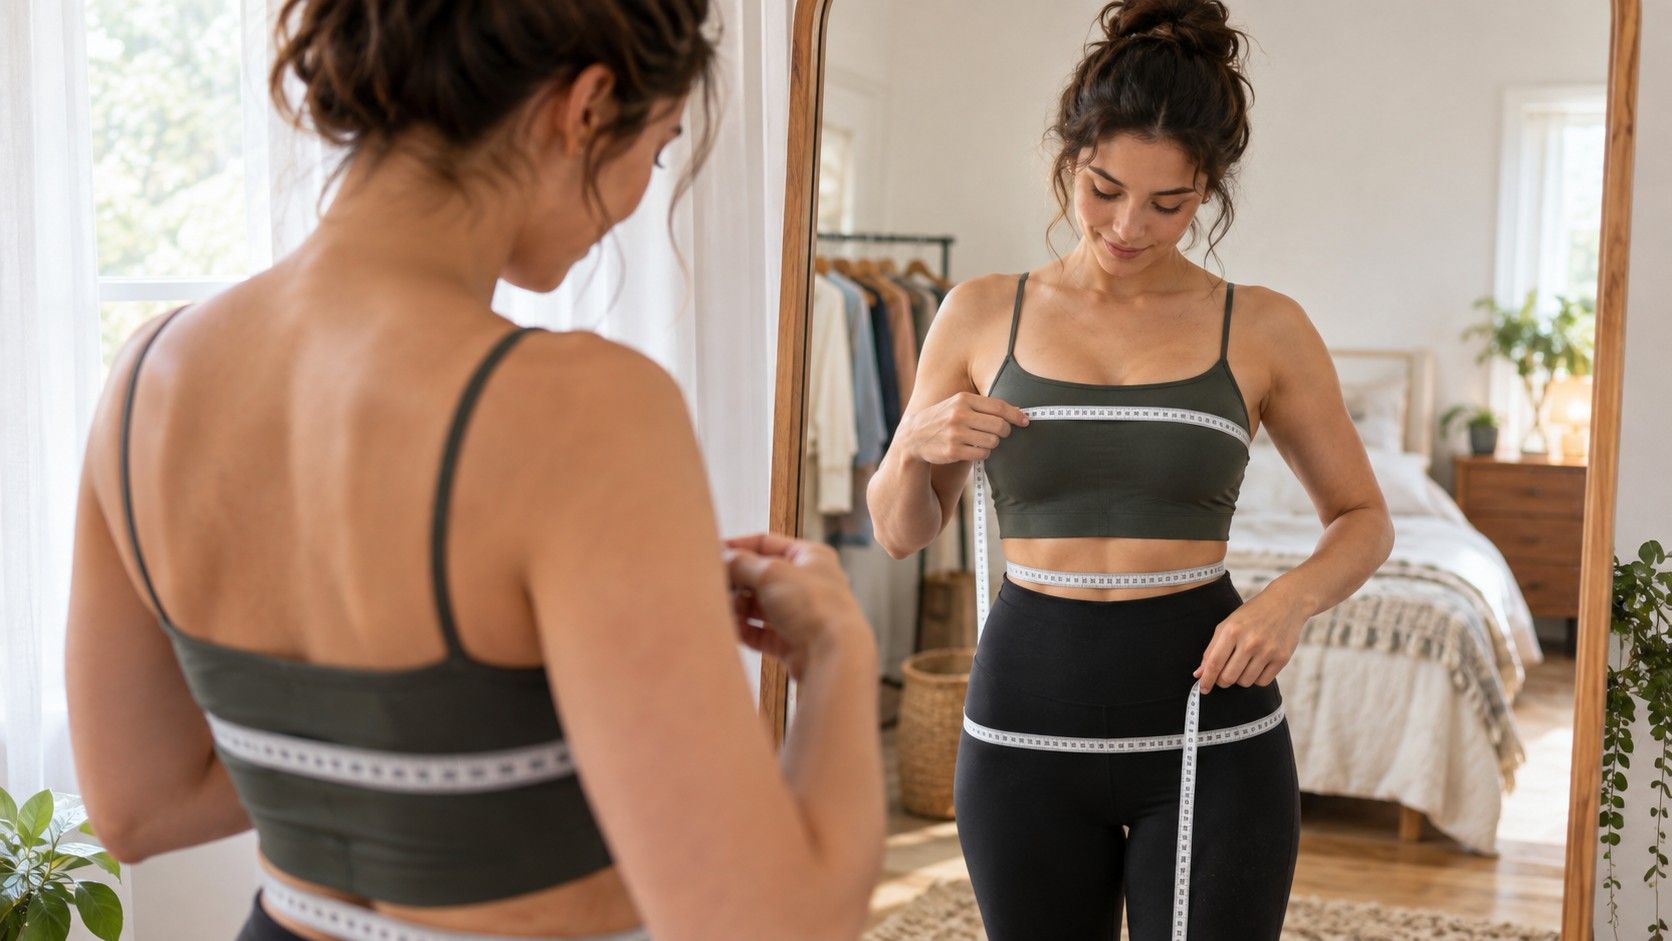
Good body shape measurements are not about reducing your body to a set of numbers. They are a practical way to understand why a pair of trousers fits at the waist but not the hip, or why a shirt feels narrow across the shoulders. With a soft tape, a mirror, and ten unhurried minutes, you can collect measurements that make size charts and garment cuts easier to read.
Prepare for numbers you can compare later
Use a flexible, non-stretch measuring tape marked in inches or centimetres. A metal construction tape does not curve smoothly and can encourage you to measure too loosely. Wear fitted clothing, a light bra if you normally wear one with the garments you are fitting, or underwear. Thick denim, sweatshirts, and shapewear all change the outline you are trying to record.
Stand on a flat floor near a full-length mirror with your feet about hip-width apart. Let your arms rest at your sides and breathe normally. The most common mistake in how to measure body shape is changing posture for the tape: lifting the chest, pulling in the abdomen, or shifting weight onto one leg. Those positions may look more formal in a photo, but clothes are worn while you move and sit.
Keep a small measurement log with the date, units, and any useful context. If you are tracking a sewing project, add the pattern brand and size. If you are building a shopping reference, note the measurements of a favourite garment as well. Body measurements and garment measurements are related, but they are not interchangeable because ease is deliberately added to clothing.
Measure shoulders with a method that suits the garment
Shoulders are the most awkward area to measure alone, so choose the version that answers your real question. For overall shoulder circumference, bring the tape around the broadest part of the shoulder line and upper back, keeping it level. Check in the mirror that it has not dipped between the shoulder blades. This can be helpful when comparing body proportions, though it is not the same as a tailoring shoulder width.
For a blazer, shirt, or coat, the shoulder seam is often a better reference. Put on a close-fitting top and identify the bony point where the shoulder meets the upper arm. Measure straight across the back from point to point with a helper, or compare the seam-to-seam width of a garment that sits well. If a jacket's shoulder seam falls down the arm, the size may be too large even when the waist looks neat.
Do not pull the tape taut across the upper back. Muscles and posture need room, especially when you reach forward to drive, type, or carry a bag. A measurement that looks precise but ignores movement will lead to a restrictive garment.
Find the bust, waist, and hip lines
Measure the bust around its fullest point with the tape parallel to the floor. It should pass across the back at the same height and lie flat without compressing tissue. Keep the tape in place for one normal breath. If the reading changes sharply as you inhale, use the relaxed exhale measurement rather than holding your breath for the smallest number.
Your natural waist is the narrowest or most flexible part of the torso, not automatically the top edge of your jeans. Bend gently to one side; the crease that forms is a useful landmark. Stand upright again and wrap the tape around that level. Some bodies have a very visible waist and some do not, so do not keep moving the tape in search of a dramatic indentation. The comfortable bend point is enough.
For hips, place the tape around the fullest part of the seat and upper hip area. This is often several inches below the natural waist. Turn sideways to the mirror, because the tape tends to rise at the back when measured alone. If you are between readings, repeat the measurement after taking a few steps; fabric needs to pass over the fullest point, not only the point that was easiest to reach.
| Measurement | Keep the tape | Check before recording |
|---|---|---|
| Shoulder circumference | Level around the broadest upper-body line | It has not dropped across the back |
| Bust | Parallel at the fullest point | You can breathe without compressing the tape |
| Natural waist | At the side-bend landmark | You are not holding your abdomen in |
| Hips | Flat around the fullest seat area | The back of the tape is not riding upward |
Correct the small mistakes that change the result
Uneven tape placement is responsible for many confusing body shape measurements. Use the mirror every time, particularly for bust and hips. A tape that is one inch higher at the back can create a number that seems meaningful but is simply a diagonal line. Checking the tape takes seconds and is more useful than repeating the whole session five times.
Another trap is tightening the tape until it feels secure. The tape only needs contact. If it leaves a pronounced mark, it is too tight; if it slips down over clothing, it is too loose. A good reading lets you slide one finger beneath the tape with light resistance. This matters for waistbands and fitted dresses, where a tiny difference can decide whether you can sit comfortably.
Take two readings for each area, then use the one that repeats. If they differ by more than a small amount, reset your stance and try once more. There is no prize for the lowest measurement. The useful number is the one that predicts the fit you actually experience.
Read close measurements as proportions, not verdicts
Once you measure shoulders, waist, and hips, compare them broadly. Close bust and hip measurements may suggest that clothing can look balanced above and below the waist. A noticeably narrower waist can make waist seams, belts, and shaped jackets easy tools. A fuller hip line may mean you need more ease in skirts and trousers. These are fitting observations, not rules about what should be hidden or emphasized.
Remember that measurement placement, posture, and undergarments all affect the result. A difference of a small amount can be ordinary variation, not proof that your body shape has changed. If a body shape test gives a different label from your notes, trust the clothes you wear most: where they pull, where they gap, and where they feel free.
Use the log when you order online or try a new brand. Compare your body measurement with the brand's chart, then read the garment description for stretch, rise, and intended fit. When possible, choose the size that accommodates the fullest relevant area and adjust the rest through styling or tailoring. That approach is more dependable than expecting one number to choose every item for you.
Keep the measurements useful instead of obsessive
Most people only need to update their log when shopping for a specific item, changing a sewing project, or noticing that their usual sizes no longer fit. Weekly measuring rarely improves decisions and can make normal changes feel larger than they are. Clothes respond to posture, fabric, construction, and movement as much as to a tape measure.
Save the measurements alongside a few personal fit notes: preferred trouser rise, sleeve length that feels right, whether you usually alter a waistband, and brands whose shoulder cuts work. Those details turn a list of numbers into a practical wardrobe tool. The aim is not an exact body-shape label; it is less time spent returning clothes and more confidence in what you choose.